
If you want to know how to plan a personalised unit of learning for your child, you are in the right place. One of the greatest strengths of home education is that you can shape learning around your child’s interests, pace, strengths, and needs rather than squeezing them into a one-size-fits-all plan.
A personalised unit helps you bring structure to your child’s learning without recreating school at home. In this guide, I’ll walk you through a simple step-by-step process you can use to create a meaningful, flexible unit of learning.
Quick answer
To plan a personalised unit of learning for your child, start with their interests, choose a topic, decide how long the unit will last, set learning goals, plan a few key activities, gather resources, and think about how your child will show what they have learned.
The goal is not to plan every second. The goal is to create learning that feels engaging, purposeful, and personal.
Why personalised units work so well in home education
A personalised unit of learning gives your child’s learning direction while still leaving room for flexibility. It helps you move beyond random activities and build something more intentional.
This approach works especially well if you want learning to feel:
- child-centred but semi-planned
- meaningful & intentional
- flexible with room to explore
- filled with opportunities for creativity
- connected across various subjects
1. Start with your child’s interests
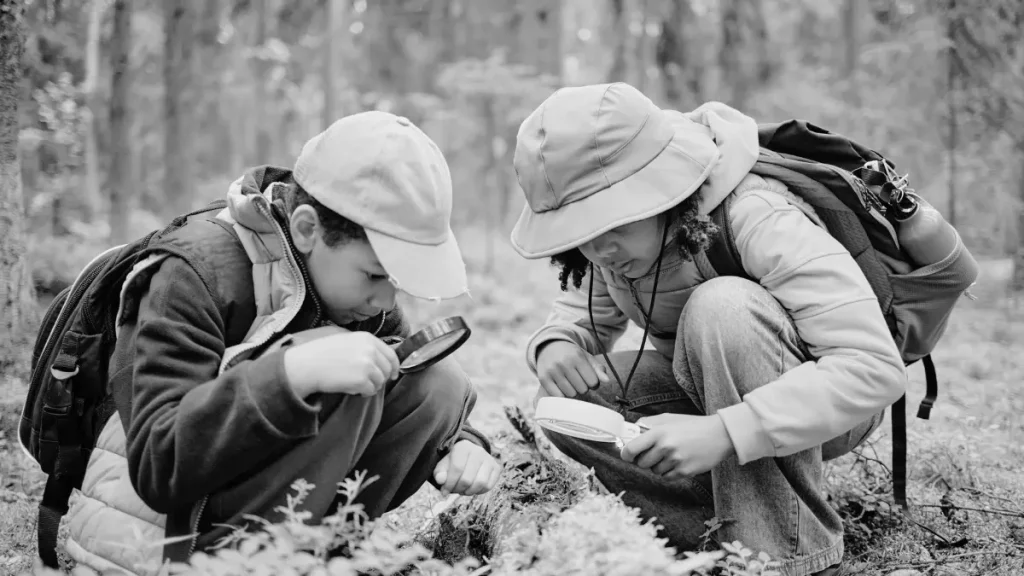
Your child’s interests are your starting point.
If you have not yet de-schooled, or your child has not had a discovery phase in their home education journey, start here. Pay attention to what they talk about, what they choose, what questions they ask and what they naturally return to.
You can also help them explore new interests by:
- going to classes
- reading books
- visiting new places
- attending events
- watching documentaries
- trying hobbies
- exploring museums, galleries, or nature spaces
Interest is often the doorway into deeper learning. When a child cares about the topic, engagement comes much more naturally.
2. Decide how long the unit will last
I usually recommend 4 to 8 weeks.
A four-week unit can work well if your child tends to move on quickly or if you want to keep the pace lively. An eight-week unit can work well if your child wants to go deeper or if you want to move more slowly.
Follow your child’s level of engagement. If they are losing interest and you feel they have got what they needed from the topic, it is fine to stop after four weeks. If they are still full of curiosity, keep going a little longer.
This is your programme to shape around your child. If you want to adapt and change things midway through, you totally can! That’s the beauty of home ed.
3. Turn the interest into a topic

Once you know the interest, turn it into a topic and give it a compelling name.
For example:
- Ancient Egypt → The Secrets of the Tombs
- Space → Mission to the Stars
- Dinosaurs → Lost Worlds and Giant Beasts
- Oceans → Beneath the Waves
- Castles → Secrets Behind the Castle Walls
- Plants → The Hidden Life of Gardens
- Volcanoes → Inside the Earth
- Inventors → Ideas That Changed the World
A strong title helps spark curiosity invites questions and makes the unit feel like a journey rather than just a theme.
4. Choose the subjects you want to include
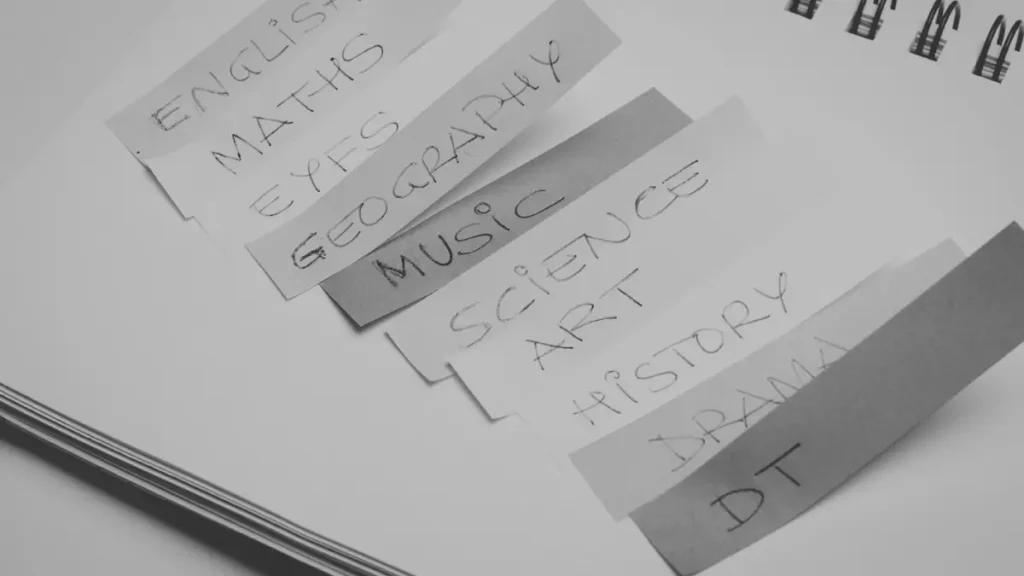
One of the best things about home education is that you get to decide what subjects matter most.
Subjects often taught in school include:
- reading (English)
- writing (English)
- communication skills (English)
- numeracy (maths)
- science
- history
- geography
- art
- music
- PSHE
- computing
- design and technology
- PE
- languages
Note, I recommend splitting English into three core skills: reading, writing, and communication skills. This is because, while they do feed into each other, they are each very different skillsets and I find it’s easier to plan and teach them seperately.
You do not need to include every subject. Choose the ones that make sense for the topic and for your child.
5. Decide on your learning goals
Learning goals give your unit direction. They help you stay intentional rather than just collecting activities.
You can write your own goals or use another curriculum’s objectives for inspiration. A simple and helpful way to frame them is:
- Knowledge Goals: To know…
- Understanding Goals: To understand…
- Skills Goals: To be able to…
This distinction matters because knowledge, understanding, and skills are not the same thing.
For example, a person may:
- know that a car has an engine and wheels
- understand that it needs fuel to work
- but still they are not able to drive it
That is why I recommend setting skills-based goals, or knowledge and understanding goals that build towards a skill.
For example:
- To know how mummies were prepared in Ancient Egypt
- To understand why tombs were important in Ancient Egyptian culture
- To be able to explain how beliefs shaped burial practices
When we set skills-based goals, we find that learning often extends way beyond topical content and targets other transferable skills like communication, creativity and more.
6. Decide how your child will show what they have learned
Before the unit begins, think about how your child might bring their learning together at the end.
In school, this might be called an assessment. At home, it can simply be part of the learning process. Children do not need the pressure of a formal test for you to see what they know, understand, and can do.
A final project is often a brilliant way to consolidate learning while making space for creativity. These can be completed towards the end of the unit or can be something the child builds on over a series of weeks.
Here are some project ideas to get you started. Have your child create…
- a poster
- a portfolio
- a 3D model
- an exhibition
- a presentation
- a performance
- a mini book
- a scrapbook
- a short video
Choose something that suits your child’s strengths, the nature of the topic and their personal style of learning. Even better if you can give them a choice in how they want to showcase their learning!
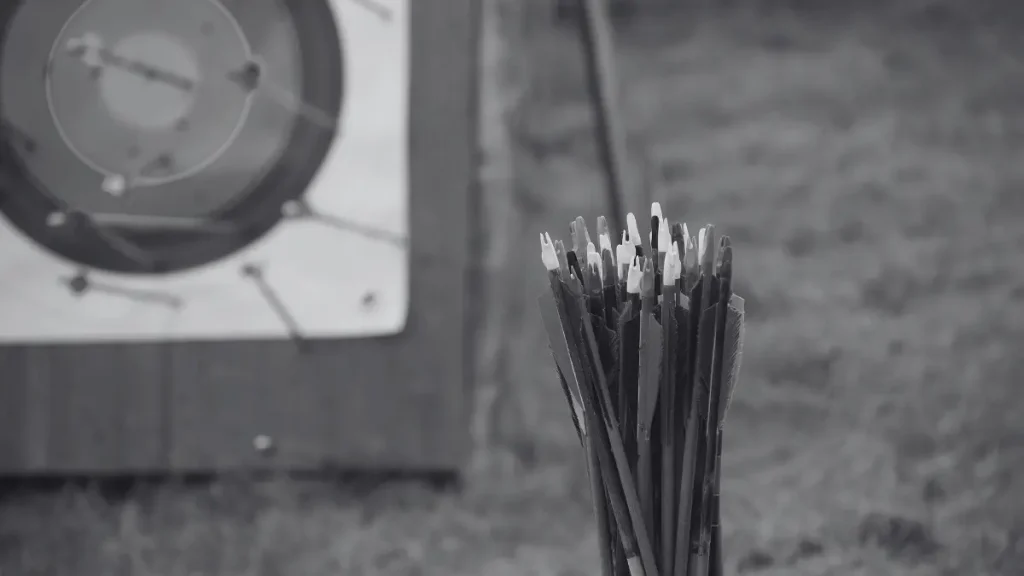
7. Plan cornerstone activities

A cornerstone activity is a key learning experience that anchors a unit of work. It acts as an important reference point in the learning journey, helping to give the unit shape, direction, and purpose.
I recommend choosing three cornerstone activities for each unit: one at the beginning to spark curiosity and introduce the topic, one in the middle to deepen learning, and one at the end to help your child bring their understanding together in a meaningful way.
These are your anchor points. They give the unit shape without forcing you to plan every moment in advance.
This works especially well if you are following a child-led approach and want to leave space for discovery, flexibility, and spontaneous learning opportunities.
For an Ancient Egypt unit, your cornerstone activities might be:
- start: a knowledge harvest and opening discovery task
- middle: making a tomb model or exploring mummification
- end: creating an exhibition or presentation
With creative projects planned and cornerstone activities set, I like to keep the rest of my units open for discovery along the way. That is, filling the rest of the unit with museum visits, days out, and random activities I find on Pinterest that align with our goals and topic. I like this approach personally as it gives me some structure but lots of wiggle room to discover new ideas along the way.
8. Build a resource bank

Now pull together a bank of resources you can dip into throughout the unit.
This might include:
- documentaries
- books
- podcasts
- YouTube videos
- websites
- Pinterest ideas
- workbooks, if you use them
- printable resources
- local places to visit
- hands-on experiences linked to the topic
This becomes your go-to bank when you need inspiration or want to extend the learning.
9. Add essential questions

Essential questions are optional, but they can support deeper learning.
These are open-ended questions with no single right answer. Instead of closing thinking down, they keep it open and encourage reflection throughout the unit.
For Ancient Egypt: The Secrets of the Tombs, essential questions might include:
- Why do humans care so much about what happens after death?
- What can tombs tell us about the people who built them?
- How do beliefs shape the way people live?
- What can ancient civilisations teach us today?
These questions can lead to rich conversations and help children connect ideas across subjects.
10. Begin with a knowledge harvest
Before the unit starts, I like to do a knowledge harvest, a strategy I first came across through the International Middle Years Curriculum.
A knowledge harvest helps you find out what your child already knows about the topic.
This can be very simple. Grab a large sheet of paper and ask them to tell you everything they already know. You can also ask guiding questions such as:
- Who lived there?
- Where is Egypt?
- What happened during that time?
- What do we know about the pyramids?
This gives you a clearer starting point. If your child already knows something in depth, you may decide not to spend much time on it. If there are obvious gaps, that can help you decide where to begin.
Common mistakes to avoid
A few common mistakes can make personalised planning feel harder than it needs to be:
- choosing a topic your child is not actually interested in
- planning too much too soon
- trying to include every subject
- focusing only on knowledge and forgetting skills
- making the unit too rigid
- overthinking it and never getting started
The goal is not perfection. The goal is meaningful learning that fits your child.
Gentle next steps
If this feels exciting but a little overwhelming, start small.
Choose:
- one interest
- one topic title
- one or two subjects
- a few simple learning goals
- one final project idea
That is enough to begin.
Get your free personalised unit plan template printable as part of our free home ed toolkit when you sign up below. It’s packed with lots of helpful tips and resources to help you on your home-ed journey.
FAQs
What is a personalised unit of learning?
A personalised unit of learning is a short block of learning designed around your child’s interests, needs, and goals. It often brings several subjects together under one topic.
How long should a personalised unit last?
A personalised unit usually works well at around 4 to 8 weeks, depending on your child’s level of interest and how deeply you want to explore the topic.
Do I need to teach every subject in a unit?
No. You can choose the subjects that feel relevant to the topic and appropriate for your child.
What if my child loses interest halfway through?
That is okay. You can end the unit early, adapt it, or follow the new direction their curiosity takes.
Do I need to assess my child formally?
No. Many home educating families use projects, conversations, creative outcomes, and real-life application instead of formal tests.
Conclusion
A personalised unit of learning helps you create structure without losing flexibility. It allows you to build learning around the child in front of you rather than trying to copy school at home.
When you start with interest, build with intention, and leave room for discovery, you can create learning that feels purposeful, engaging, and genuinely personal.